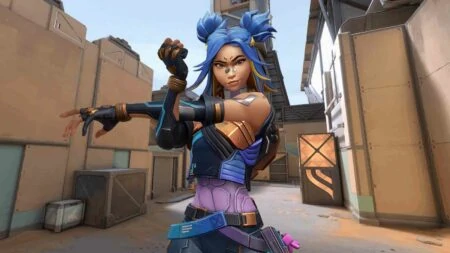
Wondering what’s the best way to maximize your impact on Neon? We’ve picked out three Neon lineups that may be one of the best ways to use Valorant’s newest duelist to her fullest potential. Her extremely aggressive playstyle has made her a viable agent choice in the current meta, making her an excellent fit for players who like to quickly help their team open up sites and take space.
Her diverse set of abilities includes a double-stun projectile called Relay Bolt that can be used to clear defensive positions and stop aggressive pushes, and dual walls to block the enemy’s line of sight.
These Neon lineups on Fracture will be helpful to players on both attack and defense. You can use these strategies in tandem with other agent abilities like a perfectly timed molly or devastating Raze Paint Shell.
Valorant guide: The 3 best Neon lineup spots on Fracture
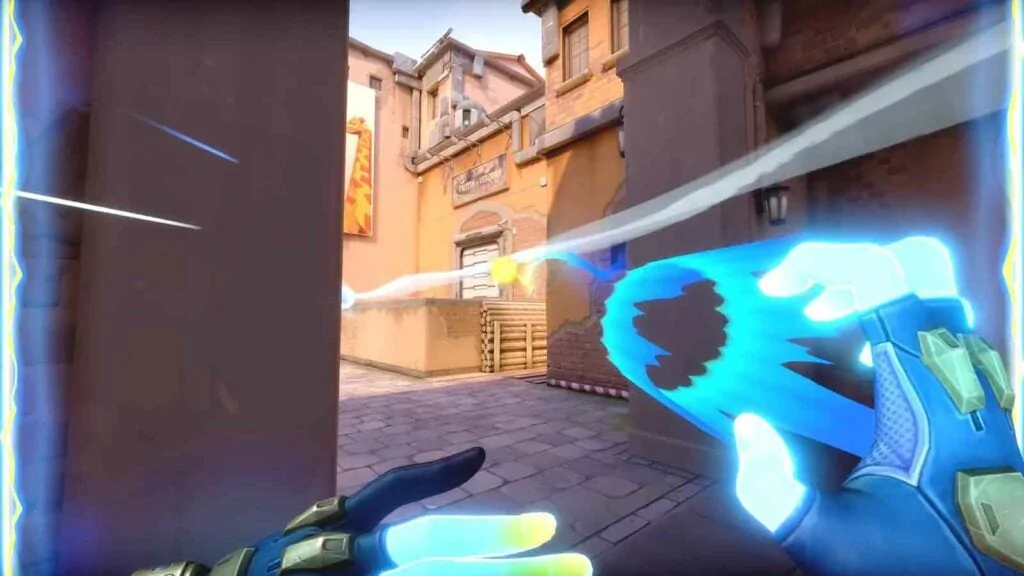
Players often just throw Neon’s Relay Bolt directly at their intended targets. But because Relay Bolt bounces, more advanced players will attempt to ricochet them off surfaces to catch their opponents on the second stun. In this way, you also avoid exposing yourself to your opponent while throwing the Relay Bolt.
In this Neon lineup guide on Fracture, we’ve selected three spots that maximize the double stuns on Relay Bolt.
A-site and A-main (attacker side)
Defenders often hold double-stacked wooden boxes to check if attackers are entering A-main. If a defender is holding an Operator, peeking into A-main could even lead to a 4v5 right at the start of the round.
To clear this angle without exposing yourself to a potential Operator, aim above the double-stacked wooden boxes and then throw Relay Bolt to deny defenders from holding inside A-main.
Once you’ve taken A-main control, another Neon lineup can be used by aiming at the northside wall of A-site. This will stun the second-floor platform and the stairs area near the A-main entrance, both of which are common spots for defenders to anchor.
- Valorant Neon guide: 3 best Relay Bolt lineups on Icebox
- Learn how to lurk like a Valorant pro from nAts’ guide
B-site (defender side)
B-main is a highly contested position on Fracture that attackers often pressure. You don’t always have to contest this, and by staying behind the boxes of B-site, a well-placed Relay Bolt can slow an aggressive push from the attackers.
Aim at the foliage on the wall leading towards the stairs. The first stun will hit attackers running into B-site, while the second stun will affect players staying at the back near the ultimate orb, allowing you to peek out and take them down.
B-arcade (attacker side)
This is the most complex of the Neon lineups on Fracture. You’ll have to take control of B-arcade to execute this, but this means that you need to clear out any possible enemy players at tower, front of generator, or canteen first. It’s also safer to have a teammate hold B-tower for you while you’re lining up your crosshair, since you’ll be very exposed while doing this Neon lineup.
Get behind the double box and aim for the right side of the light that sits between generator and canteen. It’s the one next to the default surveillance camera on the map. This Relay Bolt stun will hit both canteen and the stairs of B-tower, helping your teammates on B-main to push in.
There’s still a lot to learn about Valorant’s newest duelist, so stay tuned to ONE Esports for more Valorant guides. Follow ONE Esports on Facebook for more Valorant news, guides, and highlights.
READ MORE: Gambit Esports nAts’ crosshair placement guide will dramatically improve your aim