
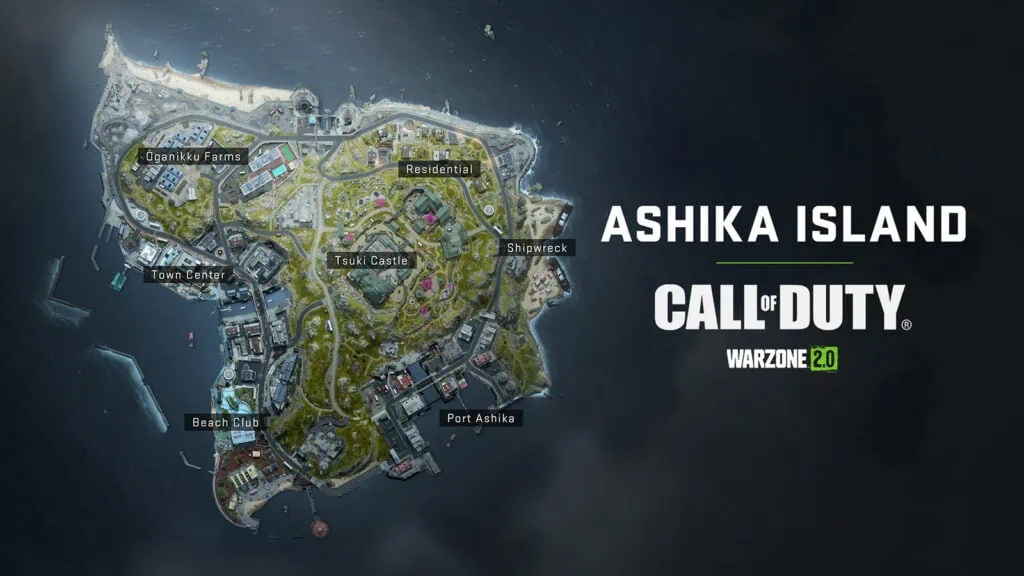
Warzone 2.0’s new Resurgence map provides a smaller battleground for players to duke it out.
Dubbed Ashika Island, or the Isle of the Sea Lion, it is part of a small archipelago located in the Asia Pacific region, according to Activision Blizzard.
The isle is being used as a hub for the ultranationalist Konni Group, including the transportation of chemical and biological weapons.
AI-controlled Konni Operators are active on the island, so be careful of where you drop. Here’s a look at the main points of interest on Ashika Island.
All the POIs on Ashika Island
Ōganikku Farms
- Lookout and Ruins
- North Beach
- Greenhouses


The majority of the northwestern sector of Ashika Island is composed of mixed agricultural, residential, and industrial use, along with old shoreline defenses.
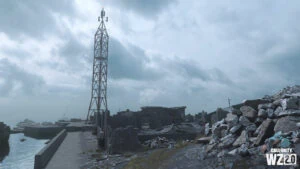
The Lookout and Ruins sit at the far northwest edge of the island, featuring a Comms Tower (one of three on the island), a giant refuse pile of concrete, and two wartime structures undergoing extensive demolition.
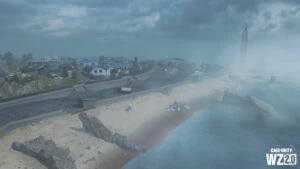
The North Beach is a relatively open area, with half-sunk dolos barriers, scattered boulders, and access to the main island, as well as the Water Treatment Facility to the east.
Finally, the Greenhouses are scattered across a yard. There are a total of eight separate greenhouses, all with individually numbered rooftops to aid in identification.
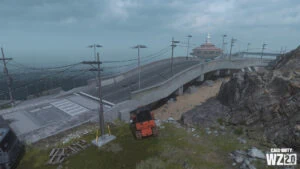
Town Center
- North Sea Wall
- Ferry Terminal
- Tourist Center Building
- Event Center Building
- Gas Station
- Science Center
- River Channel and Bridges
- South Sea Wall and Floating Gas Station
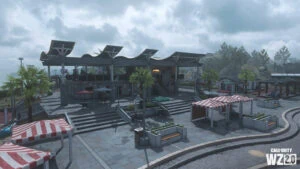
- Market District and Hotel
- Gas Station
- Town Hall

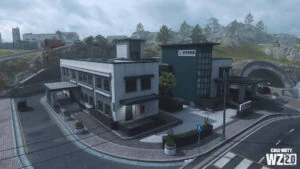

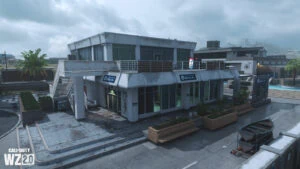

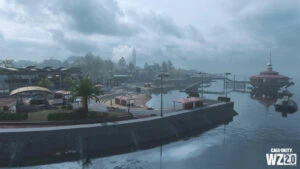
The western and parts of the southwestern island comprise a bay with impressive sea wall defenses. Northwest of the main submarine canal is a Ferry Terminal and tourist facilities. Cross the canal bridges to reach a hotel and market district, with an additional Gas Station and the semi-circular City Hall structure.
This is the most built-up area of the map, but there is also the potential to use the waters at the North Sea Wall to evade opponents or catch them by surprise.
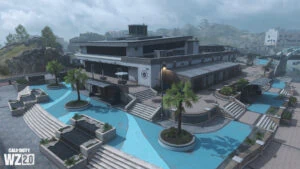
Beach Club
- Aquarium
- Beach Club and Bath House
- Beach and Observation Point
- Demolition Site
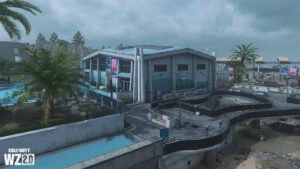


Further southwest of the Town Center and east of the Port is an aquarium and Beach Club and open-air swimming within the southwestern ocean beach. Parts of the area are easily spotted from a parachute drop as the pathways are a vivid aquamarine-blue color.
The aquarium is one of the main features here. It contains a large exhibit room, a parking lot, and a lower tidal pool by the ocean under the elevated walkway.
Tsuki Castle
- Main Stronghold
- Northwest Battlements (SAM batteries)
- North Museum Grounds
- Southeast Gardens
- Waterways (Submarine Base)
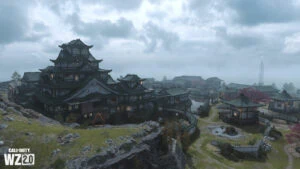

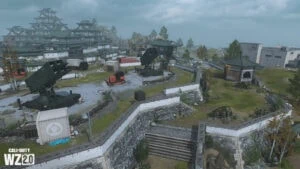

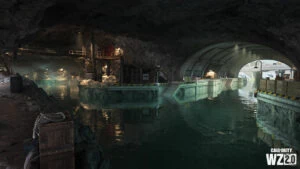

The higher ground in the center of Ashika Island is dominated by an ancient castle with multiple fortifications and a natural defensive hill along the southwestern side of the structure. This is a large plateau with shallow, stepped battlements, cherry blossoms in bloom, and a scattering of secondary structures throughout the grounds.
Look high for combat opportunities, but don’t ignore the low ground either. An entire underground waterway and submarine base is located directly beneath this fortification.
The castle grounds are the most picturesque location on the island. The traditional Japanese architecture stands out, but it is also a maze of hiding spots, access points, and places to explore.
Port Ashika
- Humpback Bridge
- Dockside and Warehouses
- Canal: River Channel and Control
- Ashika Bay and Floating Gas Station
- Gas Station
- Mechanics Yard and Oil Vats
- Rocky Bluffs


The southwestern edge is dominated by rocky bluffs, and a port named after the island. There’s steep terrain to the north as you venture to or from the castle, and a variety of industrial warehouses, offices, a comms tower as you venture towards the ocean, as well as a canal entrance to the subterranean submarine base.
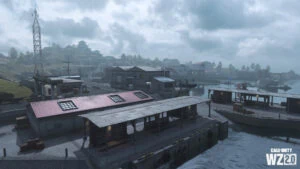
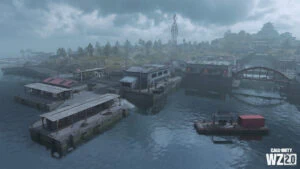
Residential
- Apartments
- Power Plant
- Water Treatment Facility
- Residential District
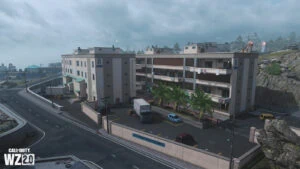

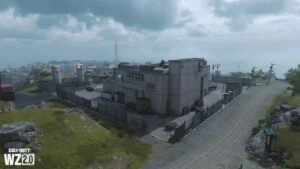

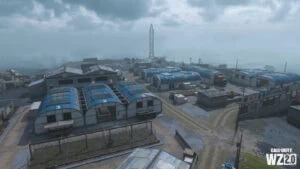
On the lower ground below the castle battlements to the north and east of the Farms and allotments sits some residential housing between a couple of industrial structures (a Power Plant and Water Treatment Facility).
Easily accessed and ringed by tarmac roads, there are plenty of places to discover, both over and underground.
The Residential District may be particularly tricky to navigate. It is wreathed with fog, which reduces long-range visibility and sightlines, which may stymie snipers.
Shipwreck
- Beached Cargo Tanker
- Containers
- Clifftop Demolition
- Lookout Point and Gas Station
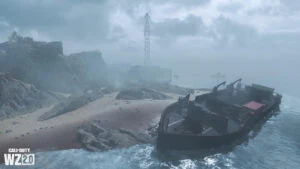

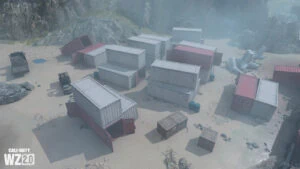


The inclement weather and hazardous shoreline spelled doom for two cargo tankers. Both vessels have run aground here, and the containers they were carrying have been mostly saved and stacked at the base of the rocky cliffs.
Further northeast are cliffs and the main looping tarmac road, as well as a comms tower and lookout above a gas station.
READ MORE: How to turn off text chat in Warzone 2.0