Since its launch on October 28, the community is already up in arms over Modern Warfare 2’s map design.
For the most part, the 10 core maps eschew the traditional three-lane layout, favoring a confusing warren of corridors, doorways, and countertops for campers to hide behind. The result is a mess that can best be described as pure chaos.
But while the maps are not the most intuitive to navigate or learn, once you do familiarize yourself with them, the flow of the gameplay becomes clearer. Positioning is everything in an FPS game, and each map also has power positions that let you control long sightlines or key areas of the battlefield.
Here are the best spots to play on every 6v6 map in Modern Warfare 2. And don’t kid yourself — these are also the best spots for all you filthy campers out there.
The best spots to camp control on every Modern Warfare 2 map
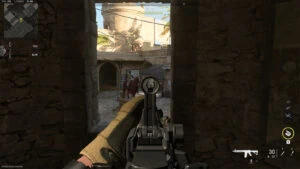
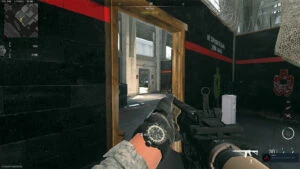
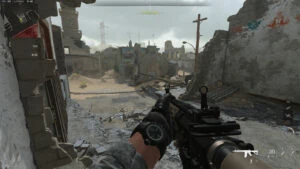
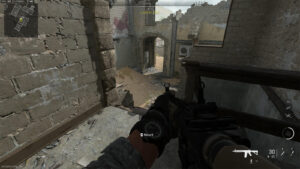
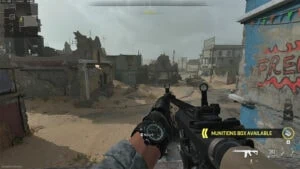
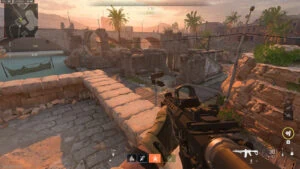
Al Bagra Fortress
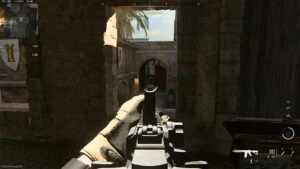


Al Bagra Fortress doesn’t have any single power position to play from. However, what it does have are multiple windows overlooking several doorways and chokepoints.
The Munitions Storage building in the middle allows you to catch opponents as they funnel out of their spawn through the narrow doorways. With Lethal equipment like Claymores or Proximity Mines guarding your back, you’ll be safe for a while as you mow your opponents down.
Just be wary of Drill Charges lobbed at you — those things are deadly.
The building is also fertile ground for close-quarters combat. Mobile weapons like the Kastov-74U and Lachmann Sub absolutely shred at this range, and you’ll be able to constantly reposition across the building’s many rooms to evade opponents trying to flush you out.
Several doors in the building also open up onto different areas of the map, allowing you to get the drop on opponents running along its outskirts.
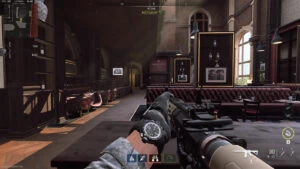
Breenbergh Hotel


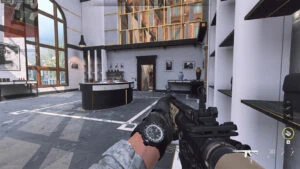


Based on the luxurious interiors of the real-life Conservatorium Hotel in Amsterdam, Netherlands, Breenbergh Hotel may appear to have a relatively simple layout at first, but it provides plenty of opportunities for you to run in circles around your opponents (and counters to hide behind).
One of the best positions to play is behind the fallen chandelier, which gives you good cover to engage opponents running from the Lobby.
From there, you can also easily fall back to hold the Store, or rotate to the Restaurant. The adjacent corridor also provides a good vantage point overlooking the Atrium.
These areas all see high footfall in-game, which means they provide the potential for you to rack up kills on the scoreboard.
Crown Raceway

One of the most hotly-contested areas on Crown Raceway is the Garage. It offers a relatively long sightline down to the other end, and players love to contest this area or simply run across it. Either way, that means plenty of opportunities to score some frags.
However, there are several entrances to the Garage, including behind you, so you’ll want to keep moving around in the immediate area or risk getting shot in the back.
Crown Raceway features both indoor and outdoor areas, but enemies are far easier to spot against the Garage’s white floors and walls.
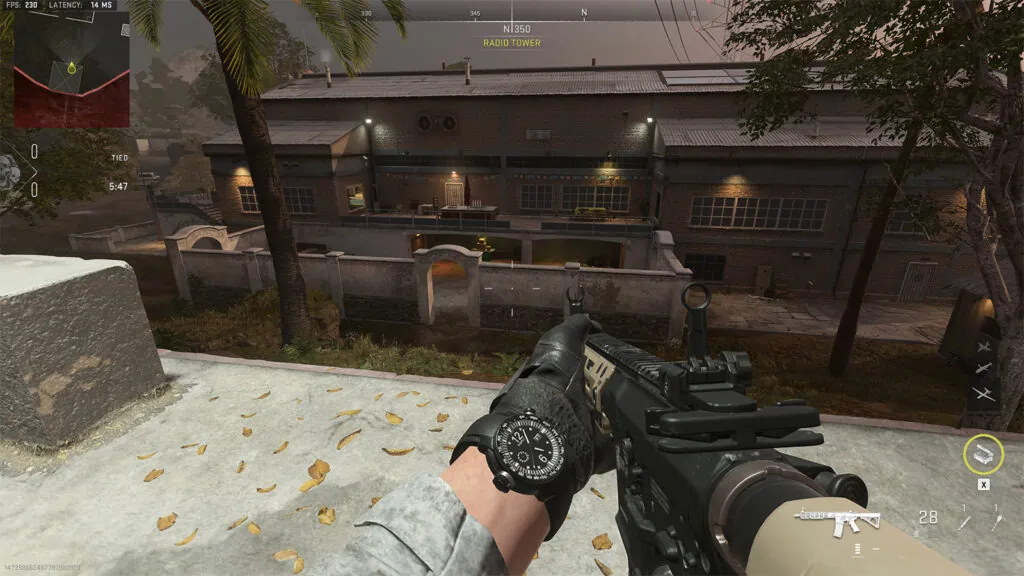
El Asilo
Like Crown Raceway, El Asilo has something for different types of players, regardless of whether they prefer to take longer-range fights or close-quarter gun battles.
That said, the Radio Tower offers a particularly good vantage point on the map. With the right weapon, you’ll be able to laser enemies running down the length of the building, or gain information on enemy movements so you can decide whether or not you want to run into the building to take fights.
You may not get the most kills from this position, but it is also one of the safest to play in the game. With open sightlines all around, you’ll see opponents coming from a mile away.
Embassy


The roof of the main building in Embassy is without doubt one of the map’s strongest power positions. The sprawling roof offers unobstructed views of key sightlines, covering three crucial lanes down the middle and on the left and right.
With a long-range assault rifle in hand, you can control important areas and pressure opponents trying to take space.
However, the roof is also a rather difficult position to hold by yourself. There are ladders and doors on both ends that could allow opponents to flank you, so you’ll want to be extremely vigilant.
Farm 18


Farm 18 offers the opportunity for both frenetic short-range battles and snipers. If you prefer to play it safe, the roof of the Operations Building offers a strong vantage point to lock down large areas of the map.
You’ll have a view of players running in and out of the Shoot House, or from the Training Course and Bus. However, be wary of opponents trying to flank you — your back is gloriously exposed if someone manages to make it around.
Alternatively, the Shoot House provides plenty of opportunities for close engagements. You’ll encounter non-stop battles here and it is a great way to level up your weapons.
Mercado Las Almas
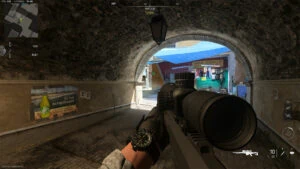

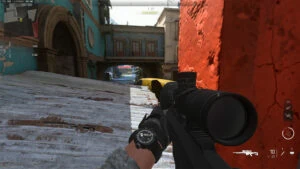

Mercado Las Almas is one of the maps that comes closest to the traditional three-lane layout. The long street that runs down the Market Center comprises an open mid area that will allow you to rack up kills.
The Tunnel is a nice position to hold, allowing you to look both ways to catch opponents hiding at the pesky spot at Forklift, behind the planter at Red Tarps, or running from Patio.
Snipers will appreciate the elevated position at the other end of Main Street, allowing them to look down the entirety of the Market Center. However, opponents can easily flank from Cantina Alley, so you’ll want to keep moving around.
Santa Seña Border Crossing


The Santa Seña Border Crossing is effectively a single lane packed with cars. To avoid the chaos of the main thoroughfare — not to mention the difficulty of spotting opponents amidst the burnt-out husks of cars — you can play around the Covered Walkway or Truck Lane.
These areas offer slightly less unobstructed views, allowing you to make quicker progress down the lane. You can weave in and out to try to catch opponents off-guard, and even dip out onto the main road to try to flank enemies.
Taraq


Taraq is a sniper’s playground, although it still offers room for close-range battles. Good vantage points include the Barber Shop and Nursery, which let you take in a wide swath of the battlefield. The middle of the map is often hotly-contested, and opponents will sometimes have to cross the field in front of you to make their way there.
The Laundry Shop is ideal for those looking to level shotguns, submachine guns, or even pistols. It is especially powerful in modes like Hardpoint or Domination, where it overlooks the objective. From the top of the stairs, you can pressure opponents trying to reclaim the space.
The many rooms in the Laundry Shop also let you reposition with ease, effectively running circles around the enemy as they try to flush you out.
Zarqwa Hydroelectric


Zarqwa Hydroelectric also offers high ground that can grant you a significant advantage. The top of the Dome provides a view of enemies exiting the Control Room. If the spawns have flipped, you’ll also be able to watch for opponents pushing from Ruins.
The Destroyed Building on the other side of the map also provides good elevation to contest key areas. However, with many possible positions for opponents to hold, you’ll want to clear your angles carefully when peeking out.
READ MORE: The best perks to use in Modern Warfare 2