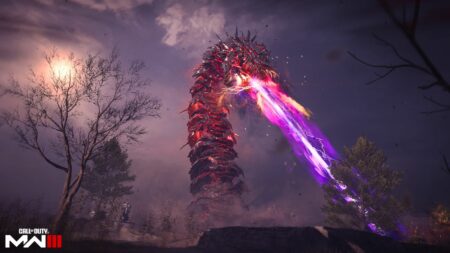
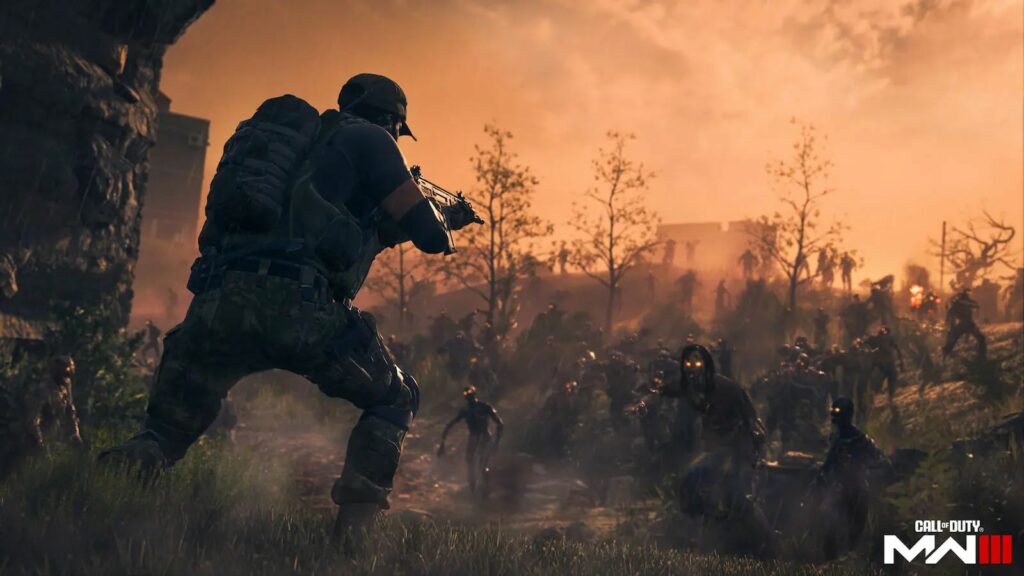
The Greylorm MW3 is the ultimate boss in Call of Duty Modern Warfare 3 Zombies.
Also known as the Red Worm, it is a hidden monster that you can summon by collecting the Calibration Data from the four USB Sticks that randomly appear on the map, then using them to activate the Refractors inside the Aether Storm.

VIEW PRICE: Lieutenant Simon “Ghost” Riley Funko Pop! Figure |
Defeating it grants significant XP and one of the three schematics — the Flawless Aetherium Crystal, Legendary Aether Tool, and The Scorcher.
Despite being the most difficult boss to kill, renowned MW Zombies content creator MrDalekJD shared a comprehensive guide on how to beat it by your lonesome.
Here’s how to solo the Greylorm MW3 boss in Zombies mode
Craft a formidable loadout
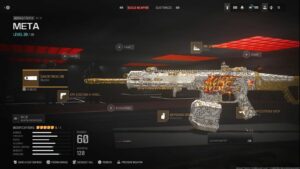
MrDalekJD recommends using an assault rifle for optimal damage output and effective mobility.
He specifically suggests equipping either the SVA 545 or MCW with these loadouts and equipment:
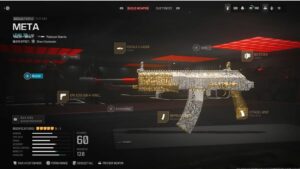


SVA 545
| SLOT | ATTACHMENT |
| Laser | FSS OLE-V Laser |
| Stock | No Stock |
| Underbarrel | XRK Edge BW-4 Handstop |
| Rear Grip | Citadel Grip |
| Magazine | 60 Round Mag |
MCW
| SLOT | ATTACHMENT |
| Muzzle | SAKIN Tread-40 |
| Optic | MK. 3 Reflector |
| Underbarrel | XRK Edge BW-4 Handstop |
| Rear Grip | RB Rapidstrike Grip |
| Magazine | 60 Round Drum |
Equipment
- Experimental Gas
- Aether Blade or Thermite
Furthermore, ensure that your weapon has been upgraded to the Legendary tier and to level three in the Pack-a-Punch machine.
Additionally, equip a Golden Armor Plate to automatically replenish your armor during the boss fight.
Purchase Durable Gas Mask and Large Rucksack
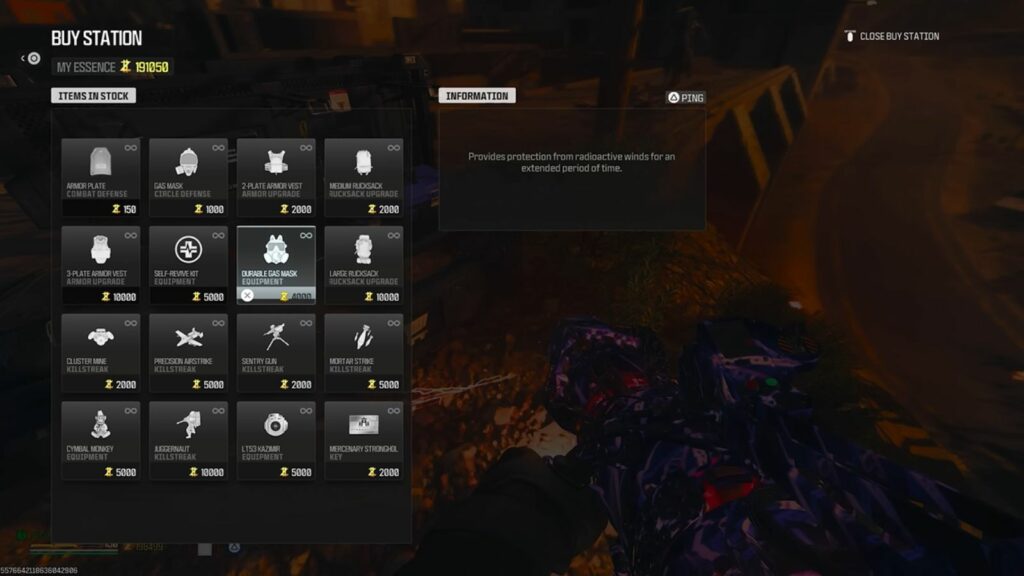
Given that you’ll be engaging the Greylorm MW3 within the Aether Storm, acquiring a Durable Gas Mask is crucial to prevent taking sustained damage during the engagement.
You can repeatedly repair your gas mask while taking on the boss using ammo containers.

VIEW PRICE: All Ghillied Up Funko Pop! Figure |
Additionally, it is essential to purchase a Large Rucksack and stock it with as many Self-Revive Kits as possible.
Both the Durable Gas Mask and Large Rucksack are available in the buy stations located in the High Threat Zone.
Set up your Sentry Gun
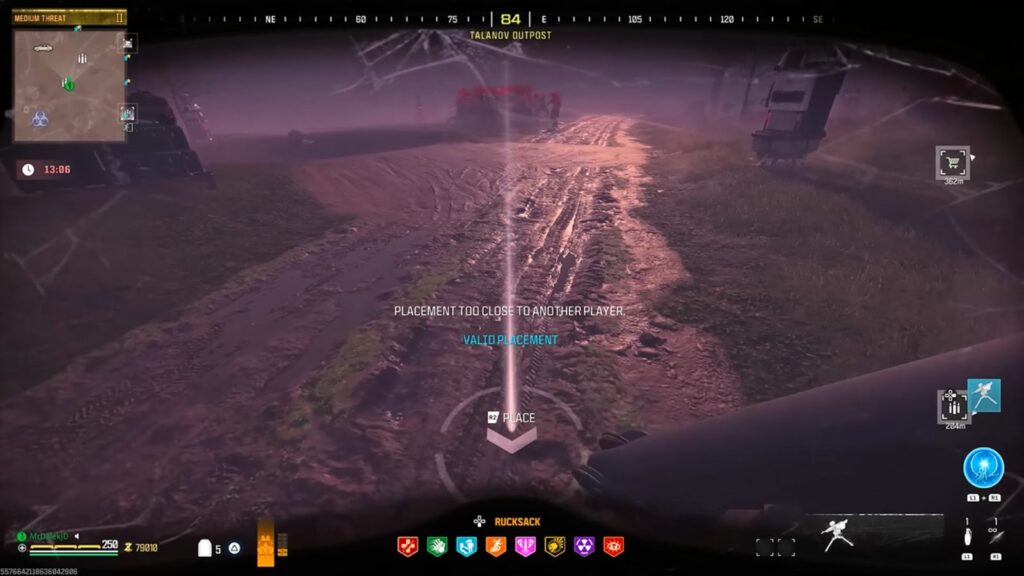
It is important to purchase a Sentry Gun and set it up before the Greylorm MW3 spawns.
The Sentry Gun plays a pivotal role in eliminating the oncoming horde of zombies, allowing you to focus on attacking the boss.
Turn on Parachute Auto-Deploy
Make sure that you set the Parachute Auto-Deploy setting to “Always” so you have the option to use your parachute when the Greylorm MW3 propels you into the air.

VIEW PRICE: Captain John Price Funko Pop! Figure |
This precautionary measure ensures that you can evade substantial fall damage, and prevent getting downed during the encounter.
Buy additional Self-Revive Kits before the Greylorm spawns
After activating the four Refractors, there is a one-minute interval before the Greylorm MW3 appears. Use this time to swiftly head to a nearby buy station and acquire extra Self-Revive Kits.
In the absence of a buy station nearby, it is advisable to patiently wait for the boss to spawn rather than taking unnecessary risks.
Tips on fighting the Greylorm
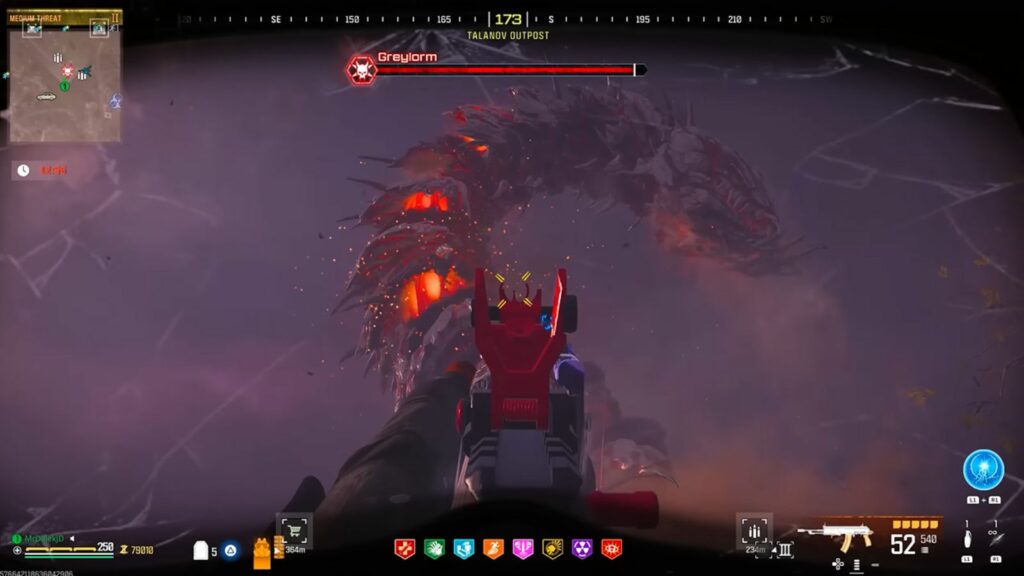
Target the glowing red shards on the Greylorm’s body to maximize your damage output.
Consistently shoot the flying purple orbs to prevent the boss from recovering its health.
Additionally, skillfully evade its attacks, especially the sweeping Aether laser that inflicts a significant amount of damage.
When the Greylorm burrows into the ground, seize the opportunity to eliminate pursuing zombies.
Upon being propelled airborne by the Greylorm, consider intentionally getting swallowed. This allows you to shoot its mouth, causing substantial damage.
However, always remember to repeatedly tap the jump button while inside its mouth to facilitate your escape, and deploy your parachute as you descend.
Once you’ve successfully defeated the boss, collect your rewards then exfil using the triangular portal.
Follow ONE Esports on TikTok for more Call of Duty content.
Just a heads up, some of the links on ONE Esports are affiliate links. This means if you click on them and make a purchase, we may earn a small commission at no additional cost to you. It’s a way for us to keep the site running and provide you with valuable content. Thanks for your support!
READ MORE: The 5 best assault rifle loadouts in Warzone Season 1